Are you working on two or more tasks side-by-side on your PC? Swapping windows can be daunting. If so, splitting the screen would be the go-to option. Let us know how to split screen on Windows 11.
How to Split Screen on Windows 11 (2 Methods)
Windows 11 has two features for splitting screens, including snap layouts and snap assist. Letting you view two or more screens at once without changing back and forth between two windows.
1st Method: Split Screen Using Snap Layout
The snap layout feature of Windows 11 lets you split screen into two, three, and even four sections. It allows you to easily pop up windows into various layouts, making the desktop display work more easily. Follow these steps to split the screen on Windows 11 into two, three, or four sections.
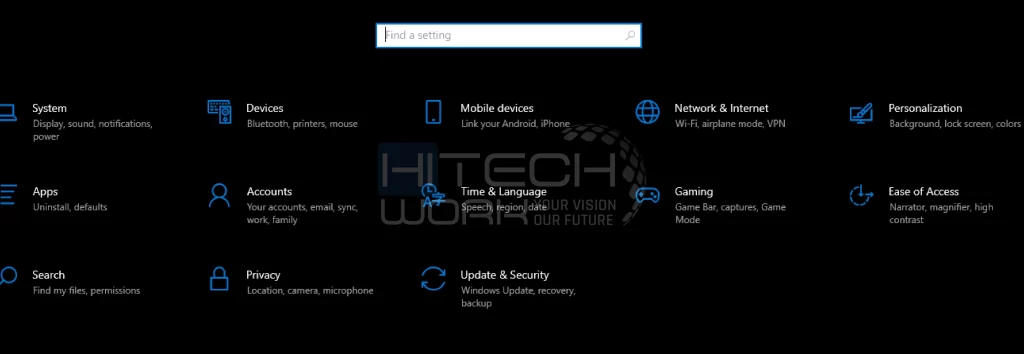
- Open the settings app on your PC.

- Move to the system option to open the pop-up menu. Go to the multitasking option.

- After that, turn on the snap windows option.

- Now, to split the screen, open the Window you want to split and move your cursor over the maximize tab that you will see at the top right corner.
- Choose the layout that you want—either two, three, or four sections—to split the Window.

- Now, your current Window fits the part that you selected. You will also see the other windows shown as thumbnails.
- Here, select the Window that you want to add to the split screen.
2nd Method: Split Screen on Windows 11 Via Snap Assist
The snap assist feature allows you to split the screen in Windows 11 manually with a keyboard and mouse.
Using Keyboard Shortcuts
- Press the Windows and left or right keys at the same time to split the screen into two sections.
- Now, the main Window Will be shown on the screen, and the other Window will be displayed on the opposite side.
- After that, select the Window that you want to add on the other side of the screen.
Using Mouse
- Hold and drag the needed Window to the side as far as the cursor can go.
- Once you see the hassle, a line releases the cursor.
- It shows the portion that the Window will take in the background.
- Now select the second Window that you want.
Tips for Splitting Screens on Windows 11
- Always keep Windows up-to-date to get the best performance and compatibility with the split-screen feature.
- If you have a touchscreen device, you can split windows using your hand gestures.
- Some Windows might not support the split-screen feature, so if a window isn’t snapping into place, see if it can be resized.
FAQs
Q: How do you turn off Snap Assist?
Go to Settings > System > Multitasking > Turn off the “Snap Windows” option.
Q: Can I snap Windows on a touch screen?
Yes, you can use your finger to pull a window to the edge of a touch screen in order to snap it.
Q: Will the Snapping Window affect my open application?
No, snapping windows only arranges their presentation on your screen; your apps will continue to be accessible and operational.
Conclusion
In this post, we have covered how to split screen on Windows 11 using the snap layout and snap assist features. Using a split screen can significantly boost your efficiency and allow you to complete tasks quickly.


